Beauty 

A Step-by-Step Guide to Doing Gel Nails at Home

Learn how to perfect your manicure from the pros.

6,378 Hypes

A Step-by-Step Guide to Doing Gel Nails at Home

Learn how to perfect your manicure from the pros.

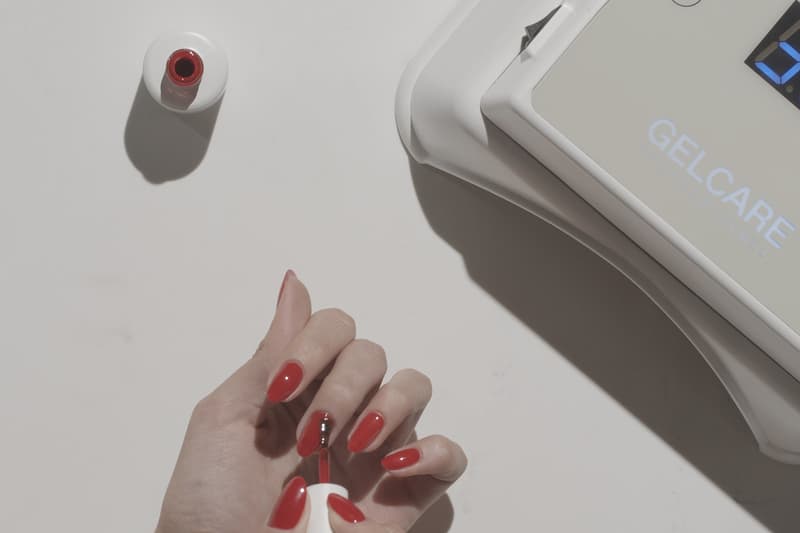
Going to a nail salon and getting a gel manicure is one of those simple pleasures that many beauty lovers are probably missing amid the pandemic. While it may not be possible for you to visit your nail tech regularly these days, with the right tools and a little bit of practice, you too can achieve the perfect gel nails at home. For those looking to pick up a new skill during this lockdown, the founder of Montréal‘s cult-favorite nail parlor Le Manoir, Emilie Sanscartier, has given HYPEBAE an expert’s guide to doing gel nails.

Using products from 9 chemical-free, vegan and cruelty-free brand GELCARE, the nail artist breaks down each step of the process, from old gel removal, to nail prep, to polish application and curing. Give yourself a DIY treatment by following the tutorial and demo video below.

For more gel mani tips and techniques, be sure to subscribe to GELCARE’s YouTube channel.


View this post on Instagram


A post shared by HYPEBAE (@hypebae)


Step 1: Get Your Tools in Order

To get yourself ready for an at-home gel manicure, you will first need to gather the necessary tools.

For beginners looking to invest in a full set of supplies, GELCARE offers a Starter Kit that not only includes all the nail care basics — base coat, top coat, buffing block, curved file, gel removal tool, hook tool, cuticle nipper, cuticle remover, gel remover and cuticle oil — but also an LED lamp for curing gels. Be sure to set up your manicure station under a table lamp, so you can see all the details throughout the process.

Of course, you will also need to choose a gel polish that is compatible with your LED lamp. In the video tutorial, we are using a nail color from GELCARE.

Step 2: Gel Removal

If you’re already wearing gel nails, file off 80 percent of the gel using the most abrasive side of the curved file. Make sure you file as evenly as possible.

Next, apply cuticle oil to hydrate your cuticles — the oil will also help lift the gel faster. Individually wrap your nails with a cotton pad soaked in low acetone remover and aluminum foil. Make sure the nails are wrapped securely and that the cotton pad covers the entire nail bed. Let sit for 10-15 minutes using a heating source, such as heated mittens or a blow-dryer.

Remove the aluminum foils and scrape off the gel with the bladed head of the gel removal tool. (Pro tip: If the gel has not lifted enough for easy removal, we recommend filing the gel surface further, rewrapping your nails and putting them back under the heating source.)

Step 3: Prep Your Nails

After removing the old gel, spend some time to properly prep to your nails.

First, apply cuticle remover. To “double cleanse” your nails, use the cuticle pusher on your gel removal tool to push back your cuticles in a back and forth motion. Then, using the bladed head on your gel removal tool, scrape off the skin under your cuticles in a circular motion. Wipe off the residue cuticle remover with a cotton pad.

To achieve a smooth and clean look, buff your nails and file them into your preferred shape.

Wash your hands with water and soap. If necessary, cut off excess cuticles using the cuticle nipper.

Step 4: Gel Application

Here comes the final and most exciting part of the manicure: painting your nails with gel polish.

To start, apply base coat and shine your nail under a table lamp to ensure it is covered up to the edge. Cure each finger individually under the LED lamp for 5 seconds. (Note: If you apply the base coat on many fingers without curing them in between, the base coat will move. If the base coat is missing around the nail, even if it is subtle to the eye, it will have an impact on the retention of your gel and your manicure could chip.)

Once you have finished applying and setting the gel, cure all nails for 30 seconds. Make sure to check that the base coat covers the entire surface of your nails under a table lamp. If certain areas are not covered (near the cuticles, on the sides or at the tip of the nail), we recommend applying a second layer of base coat and curing again.

Apply a thin coat of color and cure for 30 seconds. Repeat with an additional 1-2 coats to achieve your desired opacity.

Finally, apply one coat of top coat and cure for 3 minutes, then apply cuticle oil to hydrate and make your mani shine. Voilà!

Read Full Article
Text By
Share this article

What to Read Next

The "Black Nail Theory" Is Taking Over TikTok — Here's Everything You Need To Know
Beauty

The "Black Nail Theory" Is Taking Over TikTok — Here's Everything You Need To Know

The perfect sequel to the “Red Nail Theory” trend.
15,574 Hypes

Nicki Minaj's "Pink Friday" Press-On Nails Just Landed
Beauty

Nicki Minaj's "Pink Friday" Press-On Nails Just Landed

Minaj’s nail artist and collaborator, Yvett G., gives us the inside scoop.
1,241 Hypes

You Can Get a $10 USD Manicure From This Robot
Beauty

You Can Get a $10 USD Manicure From This Robot

In ten minutes flat.
181 Hypes


Megan Thee Stallion XXL Dark Denim Nails Just Makes Hella Sense
Beauty

Megan Thee Stallion XXL Dark Denim Nails Just Makes Hella Sense

It’s giving “Hot Girl Fall.”
494 Hypes

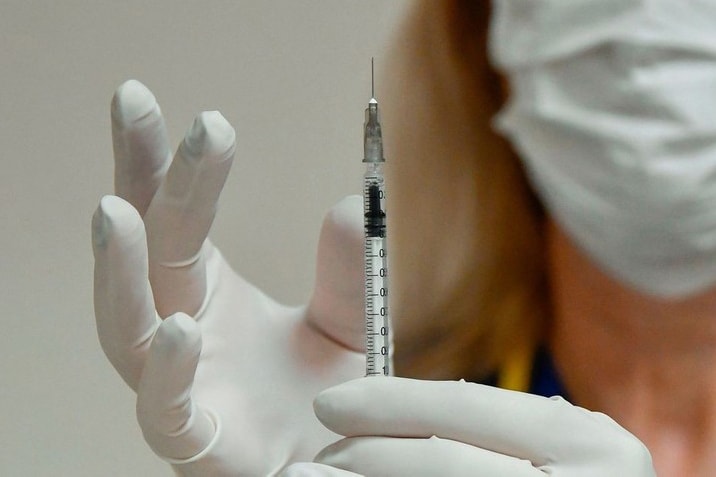
UPDATE: Pfizer's Coronavirus Vaccine Is Now 95 Percent Effective
Culture

UPDATE: Pfizer's Coronavirus Vaccine Is Now 95 Percent Effective

The drug maker will apply for emergency FDA approval “within days.”
3,893 Hypes

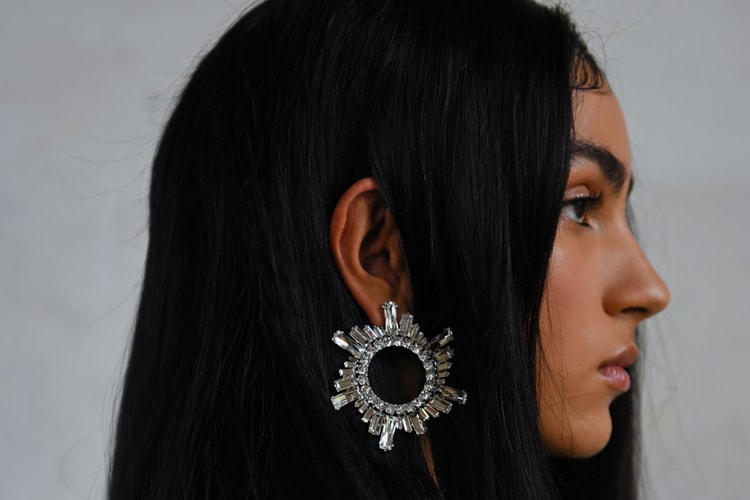
Amina Muaddi Introduces Jewelry and Bags With FW20 Shoe Collection
Fashion

Amina Muaddi Introduces Jewelry and Bags With FW20 Shoe Collection

The designer updates signature heels and expands into new categories.
4,815 Hypes

Spike Lee Is Directing a Movie-Musical About Viagra
Film & TV

Spike Lee Is Directing a Movie-Musical About Viagra

Yes, the erectile dysfunction pill.
1,086 Hypes

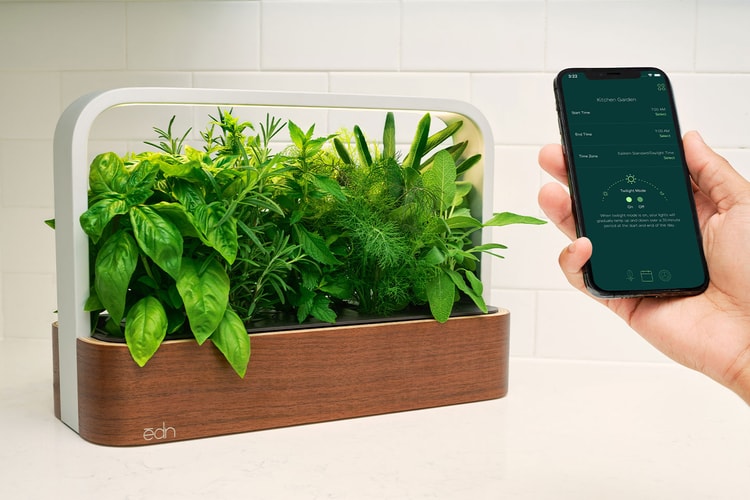
ēdn's Smart Garden Lets You Grow Herbs, Flowers and Vegetables Indoors
Art & Design

ēdn's Smart Garden Lets You Grow Herbs, Flowers and Vegetables Indoors

The WiFi-enabled device pairs with a special app for easy tending.
2,650 Hypes


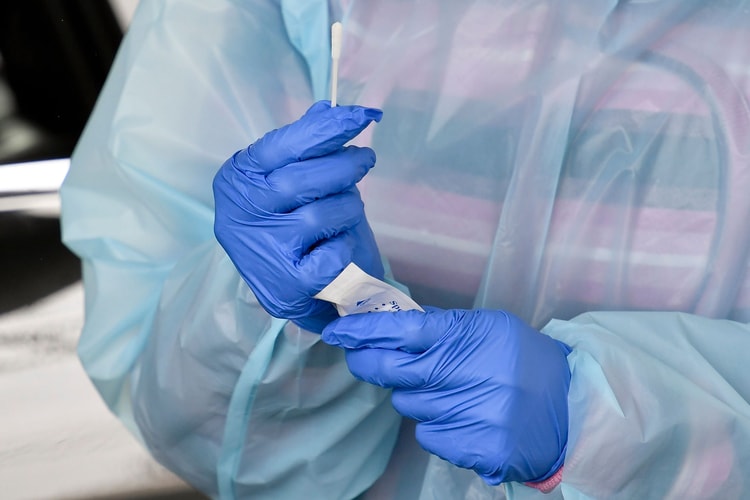
FDA Approves First At-Home Rapid Coronavirus Test
Culture

FDA Approves First At-Home Rapid Coronavirus Test

The test kit provides results in under an hour.
2,468 Hypes

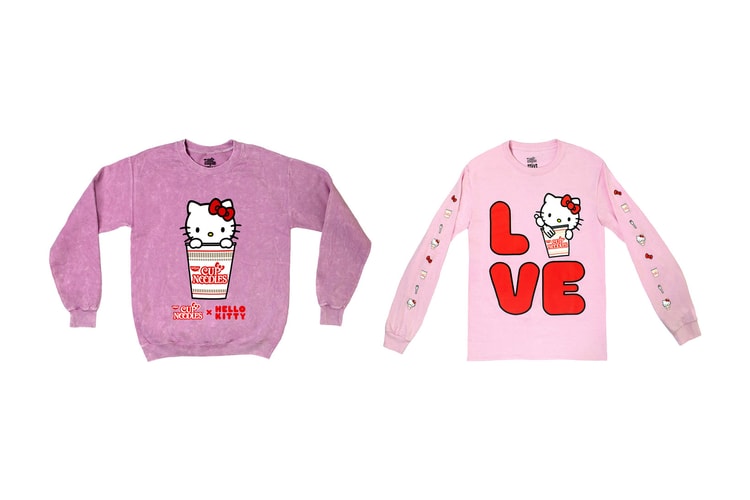
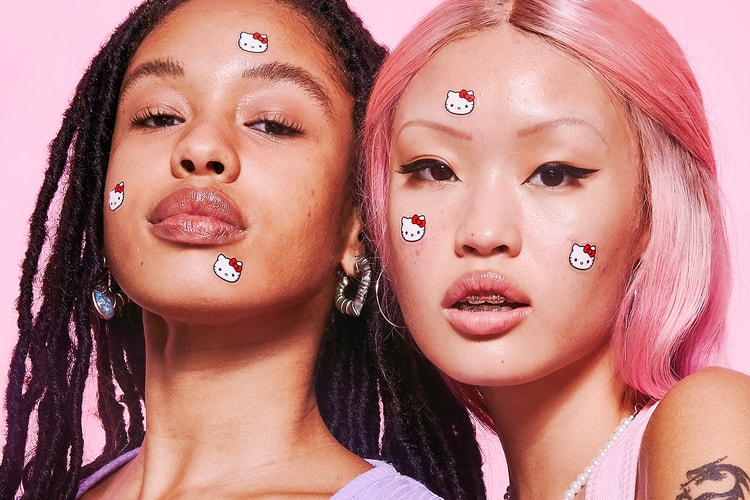
Starface Teams Up With Sanrio for Hello Kitty Hydro-Star Patches
Beauty

Starface Teams Up With Sanrio for Hello Kitty Hydro-Star Patches

The skincare brand’s first-ever collaboration since debuting in 2019.
13,392 Hypes

Bethany Williams, Casablanca and Matty Bovan Are Among 2021 Woolmark Prize Finalists
Fashion

Bethany Williams, Casablanca and Matty Bovan Are Among 2021 Woolmark Prize Finalists

The Advisory Council welcomes a new member: Naomi Campbell.
1,422 Hypes

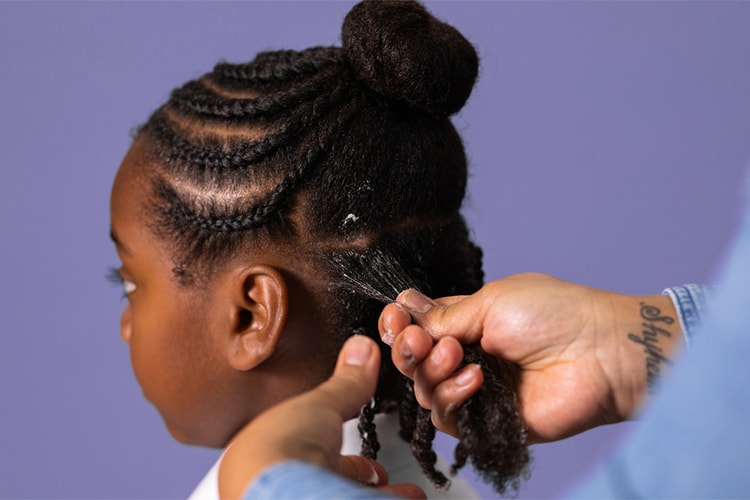
Lush Drops New Collection Catered to Black Hair
Beauty

Lush Drops New Collection Catered to Black Hair

Created with the brand’s in-house stylist and specialist, Sarah Sango.
15,614 Hypes

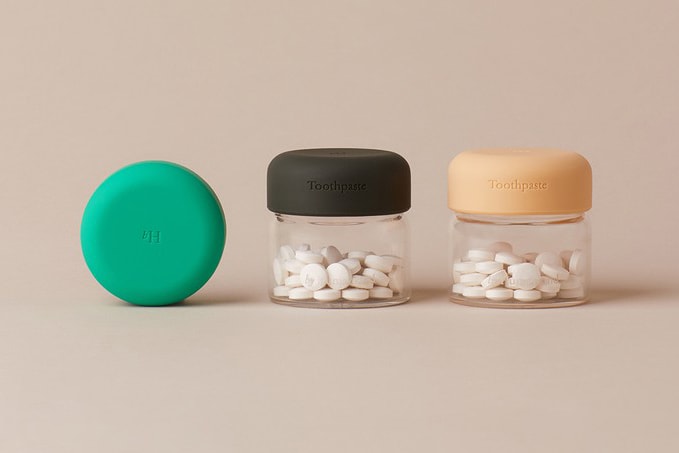
by Humankind Launches 100% Natural Toothpaste Tablets
Culture

by Humankind Launches 100% Natural Toothpaste Tablets

A sustainable and environmentally friendly alternative.
4,070 Hypes

More ▾
 
Subscribe to our Newsletter

Keep updated on the latest news.

By subscribing, you agree to our Terms of Use and Privacy Policy.

Looks like you’re using an ad-blocker

We charge advertisers instead of our readers. Support us by whitelisting our site.

Whitelist Us

How to Whitelist Us

screenshot
  1. Click the AdBlock icon in the browser extension area in the upper right-hand corner.
  2. Under “Pause on this site” click “Always”.
  3. Refresh the page or click the button below to continue.
screenshot
  1. Click the AdBlock Plus icon in the browser extension area in the upper right-hand corner.
  2. Block ads on – This website” switch off the toggle to turn it from blue to gray.
  3. Refresh the page or click the button below to continue.
screenshot
  1. Click the AdBlocker Ultimate icon in the browser extension area in the upper right-hand corner.
  2. Switch off the toggle to turn it from “Enabled on this site” to “Disabled on this site”.
  3. Refresh the page or click the button below to continue.
screenshot
  1. Click the Ghostery icon in the browser extension area in the upper right-hand corner.
  2. Click on the “Ad-Blocking” button at the bottom. It will turn gray and the text above will go from “ON” to “OFF”.
  3. Refresh the page or click the button below to continue.
screenshot
  1. Click the UBlock Origin icon in the browser extension area in the upper right-hand corner.
  2. Click on the large blue power icon at the top.
  3. When it turns gray, click the refresh icon that has appeared next to it or click the button below to continue.
screenshot
  1. Click the icon of the ad-blocker extension installed on your browser.You’ll usually find this icon in the upper right-hand corner of your screen. You may have more than one ad-blocker installed.
  2. Follow the instructions for disabling the ad blocker on the site you’re viewing.You may have to select a menu option or click a button.
  3. Refresh the page or click the button below to continue.